User Profile 
Introduction 
In iform4u, each user is identified with a username, password, and email. Together with other settings, a robust and flexible RBAC system determine which tasks a user can perform, what data he can see, and what he can do with this data.
User Registration 
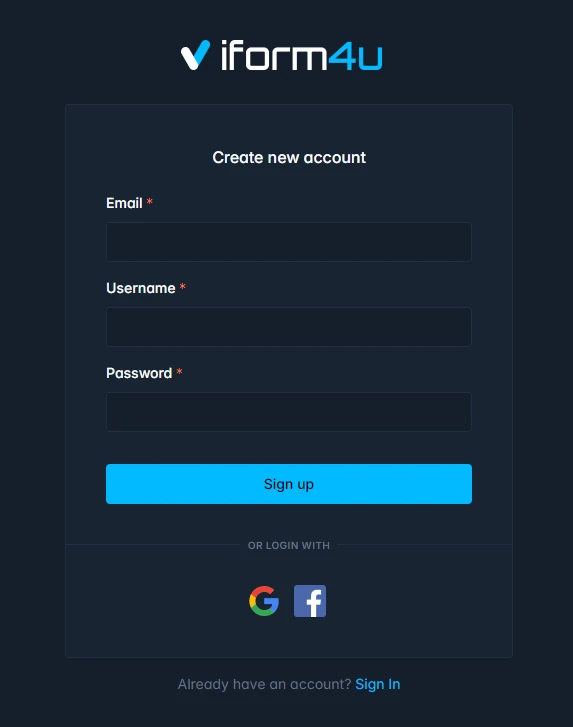
To register, you must provide an email address and then suggest a username and define your password. If the suggested username is already taken, you will have to suggest a new one.
Then, you will receive a notification to the provided email address asking for its confirmation. After confirmation, you can log in.
User Login 
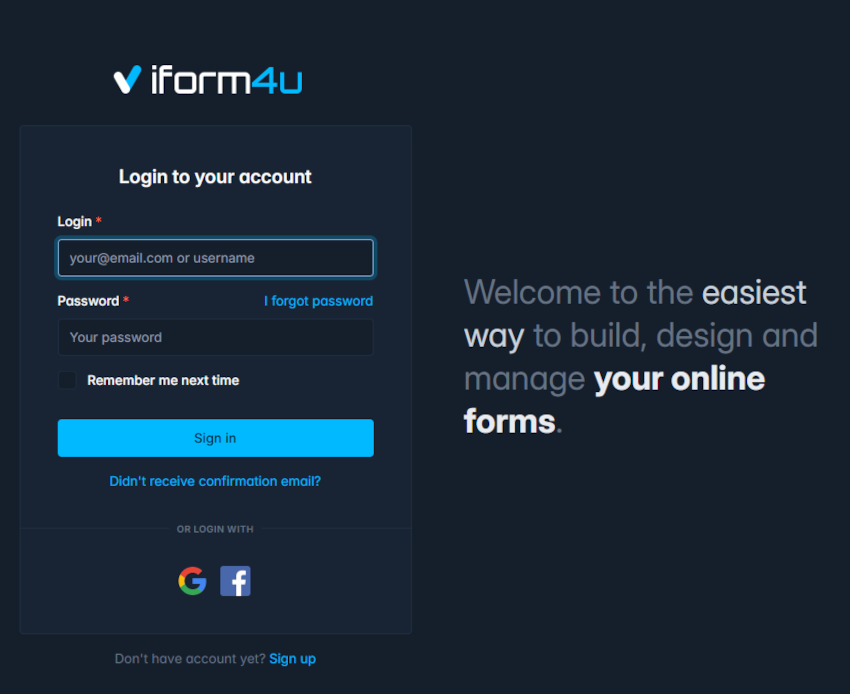
To User Login, go to iform4u.com web page and click on Login link in the navigation bar. Then, you must perform the following steps:
- Fill the account information:
- Username
- Password
Or login by your Google or Facebook account
If you have not received an email asking you to confirm your email address, you can click Didn't receive confirmation email?The system will send you a confirmation request again.
If you have forgot your password just click I forgot passwordThe system will send you a reset password link.
Profile Settings 
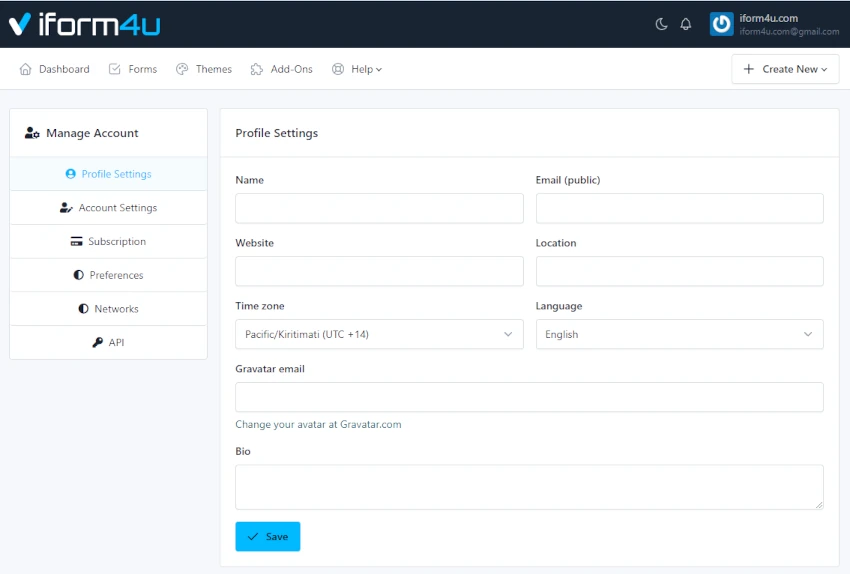
Click on your username in the navigation menu and choose Profile. After that, if you want, you can complete the profile details:
- Name
- Email (Public)
- Location
- Website
- Time zone
- Language (you can choose interface language)
- Gravatar email
- Biography
and click on the " Save " button.
Account settings 
Click on your username in the navigation menu and choose Manage Account. After that, if you want, you may complete the account settings details:
- Email (related to account- not visible public)
- Username
- New password
and click on the " Save " button.
How to enable Google Authenticator in my user account?
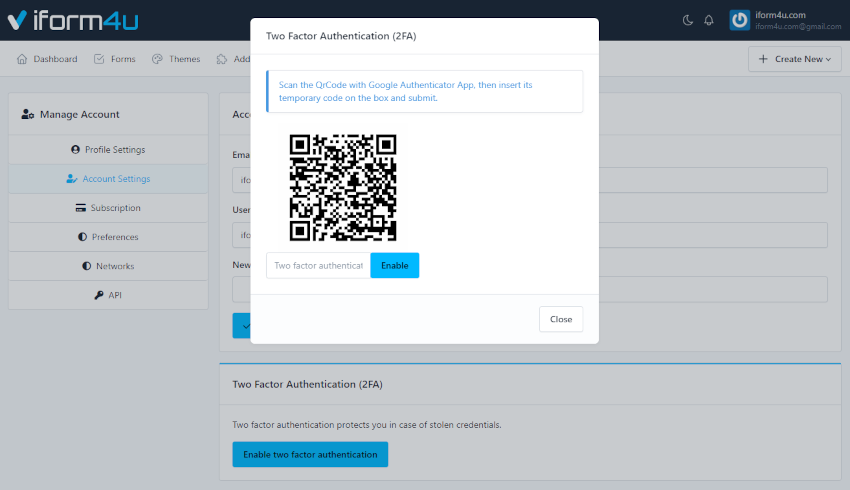
To enable the two factor authentication, the user must follow the next steps:
- Click on his username in the navigation menu.
- Click Manage account
- Click Account Settings
- Click Enable two factor authentication to open a modal with the QR Code.
- Scan the QrCode with Google Authenticator App and insert its temporary code in the box
- Click Enable .
Subscription 
Subscription is described in the dedicated documentation section..
Preferences 
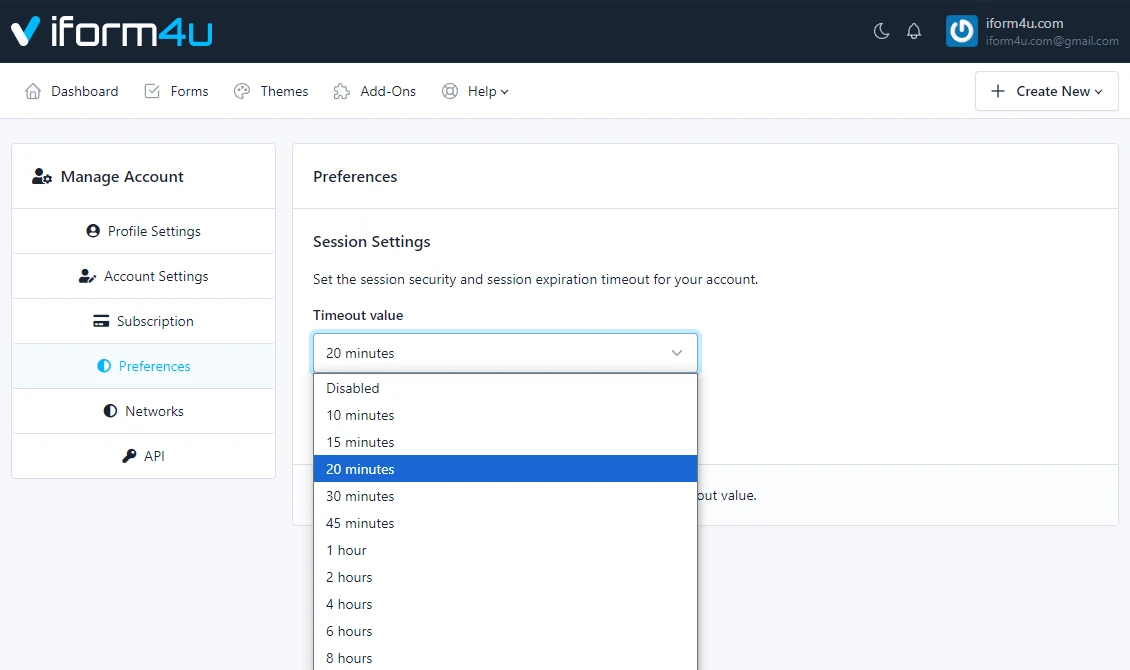
In this section User can set up his own session timeout value or disable it if he wants.
Network 
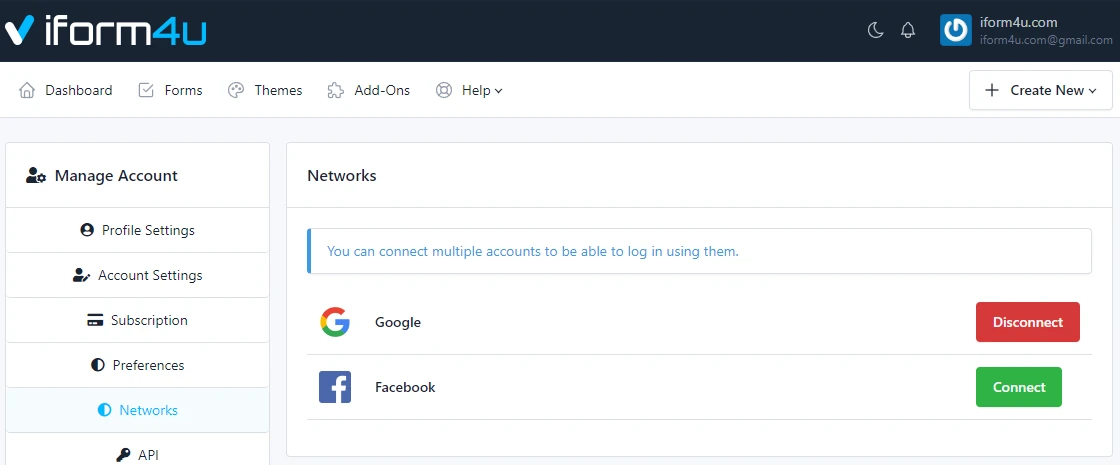
When registering using Google or Facebook account authorization, a connection is created that allows you to log in to iform4u using these accounts.
Here you can manage this connection or add it if you registered via email.
Remember that if you registered via your social account and you remove this connection, then to have access to the system by logging in with your username and email address you must define a password in the Account Settings section.
API 
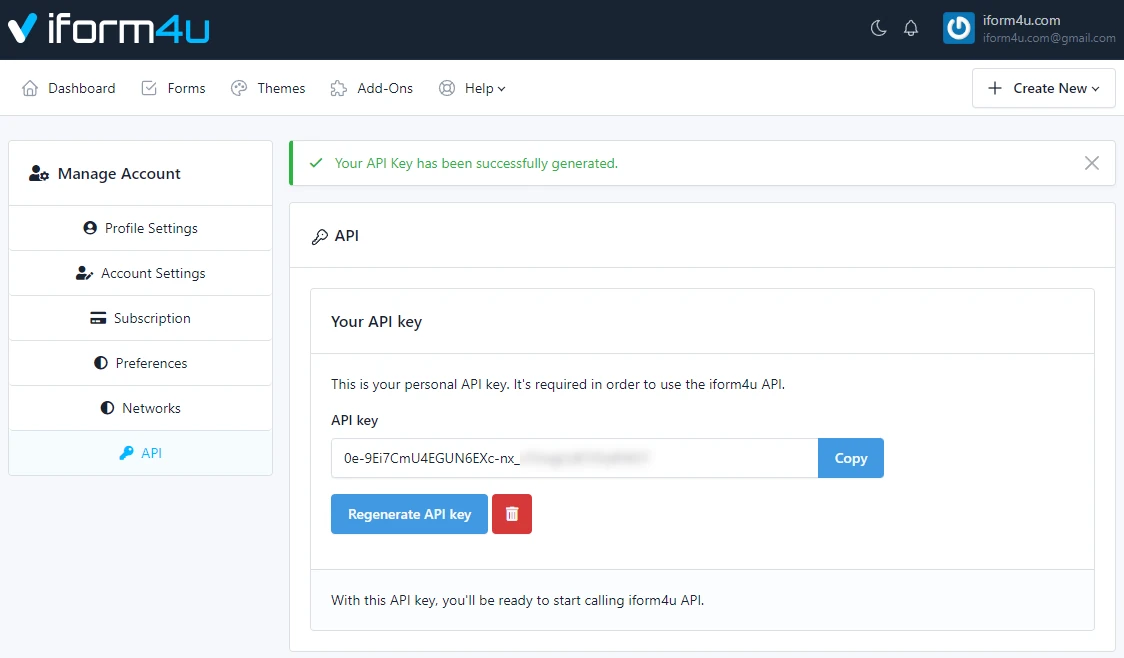
In this section user can generate personal API key. It's required in order to use the iform4u API.